


Video creators know that the perfect soundtrack can transform a good video into an unforgettable one. When searching for that ideal track, Spotify's vast library of over 100 million songs naturally comes to mind. Whether you're creating a tutorial, vlog, short film, or promotional content, you've likely wondered: "How can I add my favorite Spotify tracks to my Premiere Pro project?"
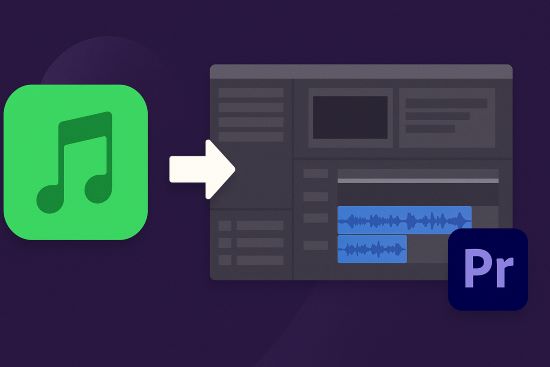
Unfortunately, many video editors discover that directly importing Spotify music into Adobe Premiere Pro isn't as straightforward as it seems. This article will explain why this technical challenge exists, explore the limitations of common workarounds, and introduce you to DRmare Spotify Music Converter – a powerful solution that bridges the gap between Spotify's extensive music library and your Premiere Pro projects.
Part 1. Why You Can't Add Spotify to Premiere Pro Directly
So, why can't you just import a song from Spotify like any other audio file? The reasons are twofold:
File Format: Spotify primarily streams and saves offline tracks in the Ogg Vorbis format. While efficient for streaming, it's not as universally supported in professional editing software compared to other formats.
DRM Protection: This is the main hurdle. Spotify encrypts its audio files with Digital Rights Management (DRM). This protection technology is designed to prevent unauthorized copying and playback outside of the official Spotify application. Premiere Pro cannot bypass this DRM, and therefore cannot read or import the protected Spotify files.
Adobe Premiere Pro works best with standard, unprotected audio formats. For seamless editing, you'll typically want audio files in formats such as MP3, WAV, AAC, AIFF.
Since Spotify files are protected by DRM and are in the Ogg Vorbis format, they simply aren't compatible right out of the box.
Part 2. Current Workarounds to Import Spotify to Premiere Pro and Their Limitations
Facing these obstacles, many editors resort to alternative methods, each with significant drawbacks:
Screen Recording
Some creators attempt to record their computer's audio while playing Spotify tracks. However, this approach typically results in:
- Reduced audio quality with potential background noise
- Difficulty achieving precise start/stop points
- No ability to edit the audio track separately
- Risk of recording system notifications or other unwanted sounds
Using Alternative Music Sources
Others turn to royalty-free music libraries or stock audio sites. While these can provide legally safe options, they often lack:
- The variety and up-to-date catalog that Spotify offers
- Specific artists or tracks you may want for your project
- The familiarity and emotional connection of popular music
Part 3. The Optimal Solution to Add Spotify to Premiere Pro
If you've been struggling with the limitations of workarounds, there's a better way. DRmare Spotify Music Converter provides the perfect solution for adding Spotify music to Premiere Pro by addressing both core issues: DRM protection and format compatibility.
DRmare Spotify Music Converter is specifically designed to convert Spotify tracks to DRM-free formats that Premiere Pro can easily import. It works by capturing the audio stream and converting it to standard formats
What's more, the ID3 tags and metadata will be kept well during converting. And then you can easily sort the songs on your computer. With this tool, you can also set other audio parameters for Spotify songs. You can reset the sample rate, audio channel and more. Also, you can define the place to save the converted Spotify music files on your computer. Moreover, you can download Spotify songs without Premium. That is to say, all Spotify users can use this tool to download Spotify music. After that, Spotify songs will be stored on your computer as common audio files. Then you can head to move and add them to Premiere Pro as BGM.

- Download Spotiy music with lossless quality.
- Convert and download Spotify Music at 15X faster.
- Safe and professional solution for getting Spotify Premium Freely.
- Come with intuitice interface and easy to use.
How to Use DRmare Spotify Music Converter
- Step 1Select and import Spotify content
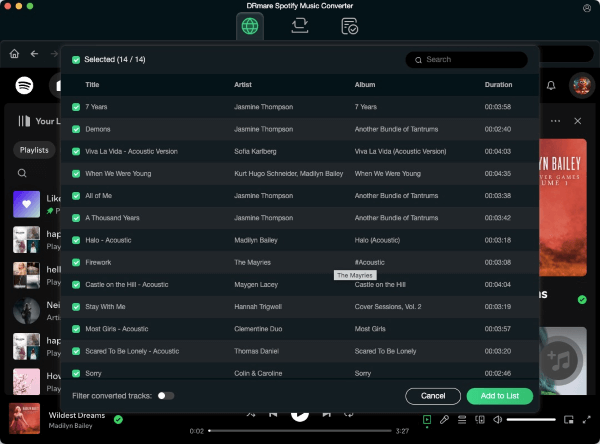
After installing the latest DRmare Spotify Music Converter, launch the application. The new version includes a built-in Spotify web player. Log into your Spotify account, locate the songs or playlists you want to convert, and click the green Music icon in the bottom-right corner. Select "Add to list" to import your choices.
- Step 2Configure your output settings for Premiere Pro
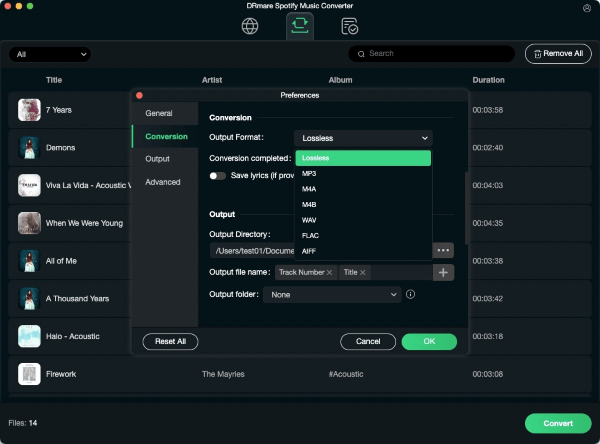
Click the menu icon in the top-right corner, select "Preferences" and navigate to the "Conversion" section. Choose MP3 as your output format for best compatibility with Premiere Pro. You can also adjust bit rate, sample rate, and select your preferred destination folder for the converted files.
- Step 3Convert your Spotify tracks
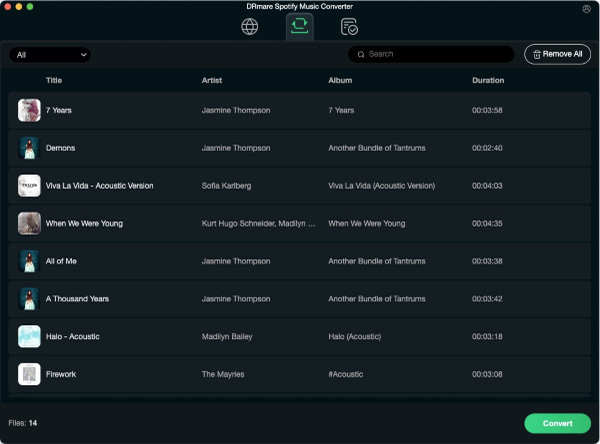
Navigate to the "Converting" tab and click the "Convert" button to begin processing. When conversion completes, find your downloaded tracks under the "Converted" tab. These files are now ready to import into Premiere Pro for your editing projects.
Part 4. How to Import Music from Spotify to Premiere Pro
Now you had got the DRM-free Spotify music. Then follow the steps below to learn how to use Spotify music in Premiere Pro.
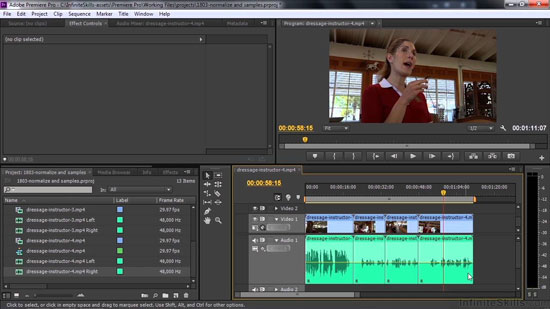
Step 1. Open the Adobe Premiere Pro on your computer.
Step 2. Import and open your video project.
Step 3. You can click on the 'File' button at the top left corner, followed by 'Import', then navigate the explorer to find your converted Spotify music. Now your Spotify music is added into Premier Pro.
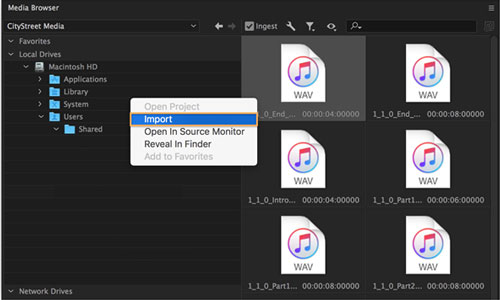
Step 4. You can also do it by double-click the media browser panel, it would also start up an explorer to let you choose your music.
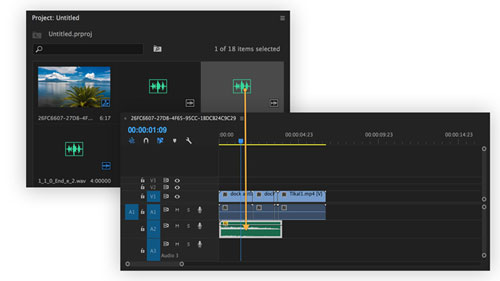
Step 5. After importing it, you can now drag and drop the imported Spotify music into your video track, and embed it into your video projects.


User Comments
Leave a Comment