


If you are anything like me, your relationship with digital music is a bit complicated. On one hand, we love Spotify for its unbeatable discovery algorithms and convenience. On the other hand, as we start caring more about audio quality, organization, and true ownership, we gravitate toward powerful local players like MusicBee.
MusicBee is arguably the best music manager on Windows—it's lightweight, handles massive libraries (I'm talking 50,000+ tracks) without stuttering, and supports high-end audio drivers like WASAPI and ASIO.
But here is the problem: How do you get your carefully curated Spotify library into MusicBee?
If you have searched for "Spotify to MusicBee plugins" or "sync tools", you have probably hit a wall of broken links and outdated forum posts. In this guide, I'm going to walk you through why the old methods fail, the reliable way to migrate your Spotify music to musicbee, and—my favorite part—how to skin MusicBee so it looks just like Spotify Dark Mode.
Part 1. Do "Musicbee Spotify Plugins" Still Work?
Before we dive into the solution, let me save you an hour of frustration. You might have come across old threads discussing plugins like MusicBeeSyncToService or various "Spotify Integration" addons on the MusicBee forum.
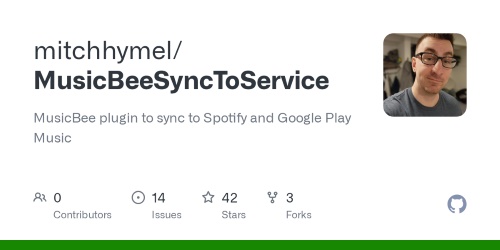
I have tested most of these recently, and the short answer is: They are largely broken or severely limited.
Spotify has tightened its API restrictions significantly over the last few years. This means that plugins that used to allow you to stream Spotify inside MusicBee no longer function reliably. MusicBee is, at its core, a player for files you own—stored on your hard drive—whereas Spotify is a rental service. Mixing the two via a simple plugin has become technically nearly impossible.
So, if we can't stream, we have to migrate. The only robust way to use MusicBee with your Spotify library is to convert those streams into local audio files.
Part 2. The Solution: Turning Streams into Local Files
Since MusicBee thrives on local files (MP3, FLAC, AAC), we need a bridge to get your music off the cloud and onto your SSD. This is where DRmare Spotify Music Converter becomes essential. I look at this not just as "downloading", but as "archiving". By converting your playlists to local files, you are protecting your library from disappearing if songs are removed from Spotify—a frustration that happens more often than we'd like.
DRmare effectively solves the core incompatibility between Spotify's encrypted streams and MusicBee's open architecture. It allows you to grab playlists, albums, and podcasts, converting them into the formats MusicBee loves while keeping critical ID3 tags (Artist, Title, Album Art) intact for automatic organization.
Here is the workflow I use to move a playlist from the cloud to my local library:
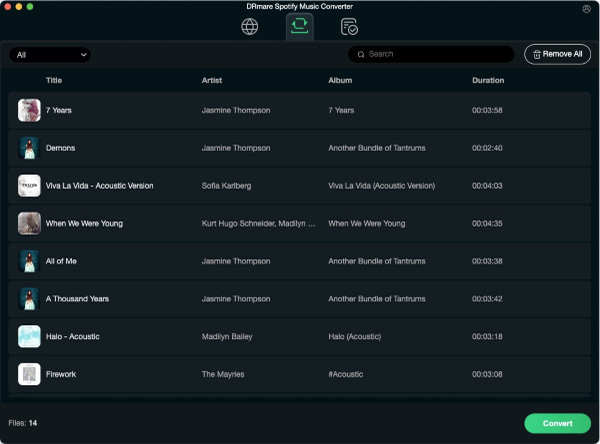
Step 1. Launch DRmare Spotify Music Converter. You will notice it now features a built-in Spotify web player. Log into your Spotify account directly within this window to access your library.
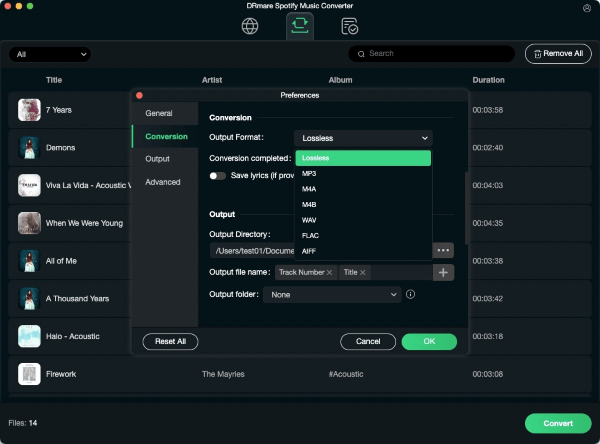
Step 2. Before adding music, I recommend setting your quality standards. Click the menu icon (three lines) in the top-right corner and select Preferences. Switch to the Convert tab. Here, you should choose your output format. I recommend MP3 (320kbps) for general listening or FLAC if you are an audiophile using MusicBee with high-end equipment.
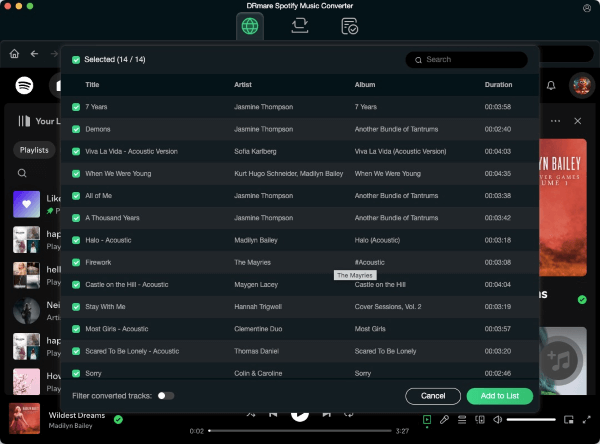
Step 3. Browse the built-in web player to find the playlist or album you want to migrate. Once you open the playlist, you will see a green Music icon (usually a "plus" symbol) floating in the bottom-right corner. Drag the tracks or playlist to this icon, or simply click it to load the songs into the conversion list. Confirm your selection by clicking "Add to list".
Step 4. Once your list is ready, click the "Convert" button. The software will begin downloading the tracks to your local computer at high speed. When the process finishes, you can navigate to the "Converted" tab to see your history, or open the local folder where your standard audio files are now stored, ready for MusicBee.
Part 3. How to Import Your New Spotify Library into MusicBee
Now that you have the actual audio files, MusicBee can flex its muscles. The import process is incredibly fast.
Step 1. Open MusicBee. If this is your first time launching it, it may ask to scan for media. If you are already a user, go to the top menu bar.
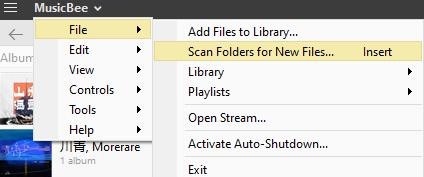
Step 2. Navigate to File > Scan Folders for New Files.
Step 3. Select the directory where DRmare saved your music files. MusicBee will process the files, reading the ID3 tags to automatically sort them by Artist, Album, and Genre.
Part 4. The Aesthetic: Making MusicBee Look Like Spotify
This is the fun part. Out of the box, MusicBee looks a bit like software from 2010. It's functional, but not pretty. However, its skinning engine is incredibly powerful. We can make it look sleek, dark, and modern—very similar to the Spotify UI we are used to.
Recommended Skins
To get that "Spotify Dark Mode" vibe, you shouldn't use the default skins. You need to download community-made skins. You can find these in the "Skins" section of the MusicBee forum.
Dark-Metro Series:
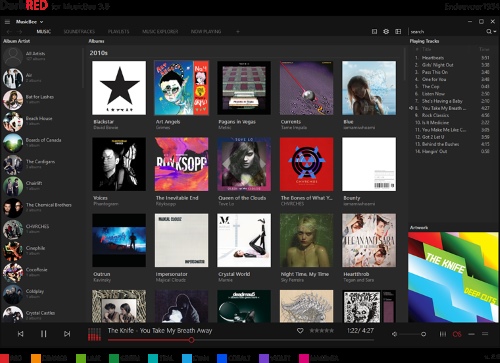
This is my top recommendation. Look specifically for "Dark-Metro (Red)" or "Dark-Metro (Green)" to mimic the branding colors. You can download it here.
Centrol
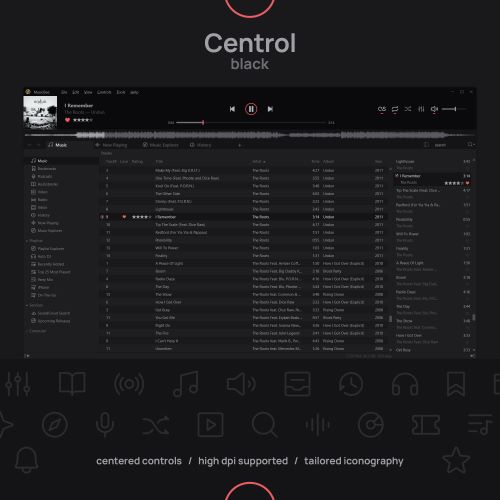
A very flat, clean, modern skin that closely resembles modern web players. You can download it here.
Customizing the Layout
Once you have applied a dark skin (View > Skins), you need to tweak the panels to mimic Spotify's layout.
Step 1. Go to View > Arrange Panels.
Step 2. Enable the Left Sidebar. This mimics Spotify's navigation bar. In the sidebar settings, add "Playlists" and "Library" nodes.
Step 3. In the main panel, switch the view to "Album and Tracks". This gives you that familiar list view with the album art on the side, which is the standard way we browse on streaming services.
Step 4. (Optional) Disable the "Right Sidebar" and "Tabs Bar" to reduce clutter. The goal is minimalism.
By combining the DRmare migration method with a Dark-Metro skin, you effectively create a "Super-Spotify": a player that looks and feels like the streaming service you love, but runs offline, supports higher quality audio drivers, and gives you 100% ownership of your music collection.


User Comments
Leave a Comment