





As more people look to enjoy iTunes movies on a big screen at home, projectors are becoming a popular choice for a cinema-like experience. However, you may encounter an error message when trying to stream iTunes movies on a projector, such as, "This movie cannot be played because a display that is not authorized to play protected movies is connected." It means that iTunes movie won't play on projector.
Playing iTunes movies on a projector isn't always straightforward, especially since iTunes movies often include DRM (Digital Rights Management) protection. In this guide, we'll break down why these issues occur and provide reliable solutions so you can watch your iTunes movies on a projector seamlessly.
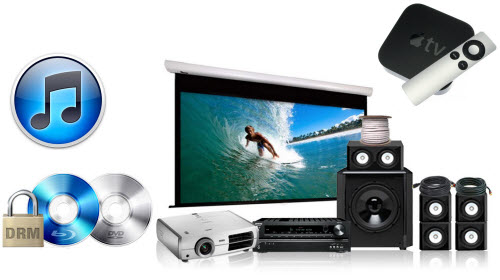
Part 1. Can You Watch iTunes Movies on Projector?
While iTunes bought or rented movies can technically be streamed on many devices, DRM protection can prevent them from displaying on certain projectors, especially older or budget models. Here are a few reasons why this might happen:
1. Resolution Limitations: Some projectors only support SD (Standard Definition) and not HD or Full HD resolutions (720p or 1080p). If your projector isn't HD-compatible, it may not display iTunes movies correctly.
2. HDCP Protection: High-bandwidth Digital Content Protection (HDCP) is a DRM technology that prevents unauthorized playback. Many iTunes movies, especially in HD, use HDCP, which could cause compatibility issues if the projector does not support this protection standard.
To watch iTunes movies on a projector, you'll need to either use compatible hardware or convert iTunes movies to MP4, or another playable format. Let's explore these options and troubleshoot any issues you may face.
Part 2. How to Play iTunes Movies on Projector via Converting
One of the most effective ways to watch iTunes movies on any projector is by using a DRM removal and conversion tool, called DRmare M4V Converter. This software removes DRM from iTunes movies, allowing you to convert them into common formats like MP4 that are compatible with most projectors.
It provides high-quality video conversions. It can preserve the original quality of iTunes movies, including HD 1080p resolution, Dolby 5.1 surround sound, and subtitles, ensuring that the viewing experience remains true to the original on a projector. Besides, you can personalize your iTunes videos, such as adding effect, watermark, etc. if necessary.
How to Convert iTunes Movies for Watching on Projector
Do you want to try it out now? Here's how to use DRmare M4V Converter to prepare your iTunes movies for projector playback.
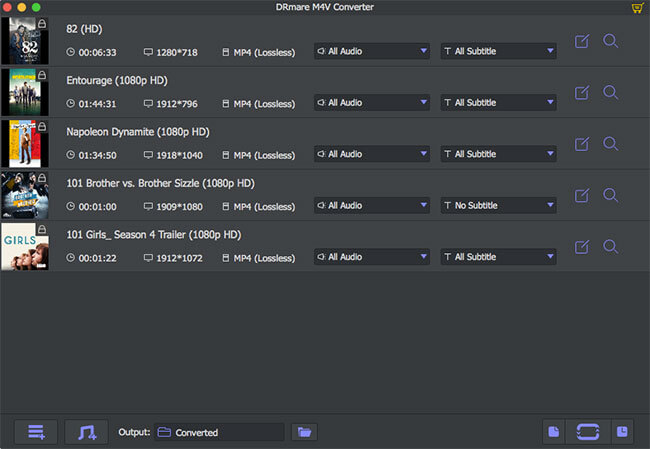
- Step 1Load iTunes movies to DRmare M4V Converter
Download your iTunes movies to your computer, and ensure they're authorized for playback. Open DRmare M4V Converter and add the movies by clicking the "Load iTunes Library" button or by dragging them to the interface.
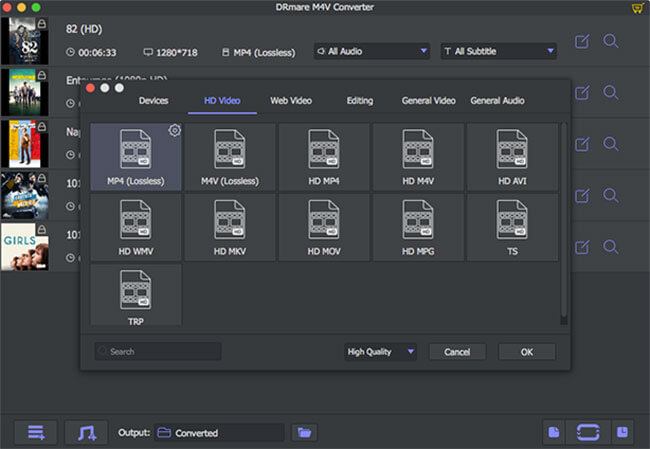
- Step 2Set iTunes output video format for projector
Select "MP4 Lossless" as the output format for the best quality by clicking the 'Format' icon at the bottom-right corner. MP4 is widely supported and ideal for projectors.
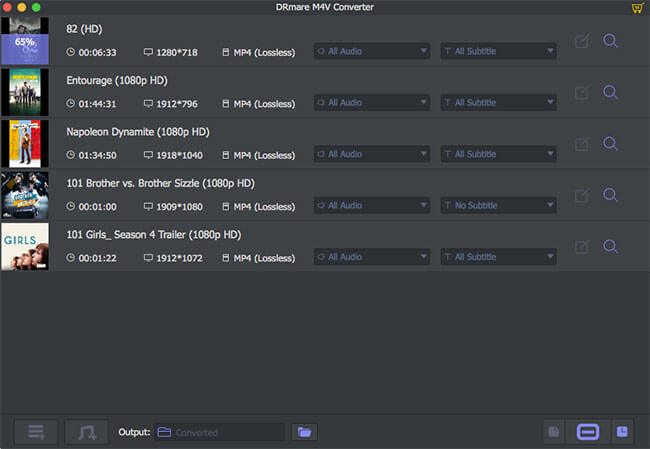
- Step 3Convert iTunes movies for projector
Now you can click 'Convert' button to convert your iTunes movies for projector. Then DRmare M4V Converter will convert and export iTunes movies to new videos at 30X fast conversion speed. Once completed, the unprotected movies will be saved to your computer, ready for use on your projector.
How to Show iTunes Movies on a Projector
Now that you've converted your iTunes movies, let's explore different ways to show movies from iTunes to your projector.
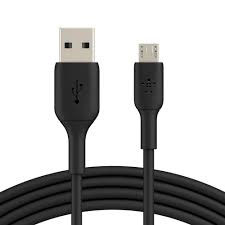
Play iTunes Movies on Projector via Cable
Step 1. Power down your computer and projector to avoid any potential issues during setup.
Step 2. Use an HDMI or VGA cable to connect your computer to the projector, depending on your projector's input options.
Step 3. Plugin the projector into an electrical outlet and power it on.
Step 4. Turn on your computer, open a media player and start playing the converted iTunes movie.
Step 5. Press 'Fn' key and one of the keys (F1~F12) according to the manual of your projector. It will stream your iTunes movies from your computer to the projector.
Watch iTunes Movies on Projector by USB Drive
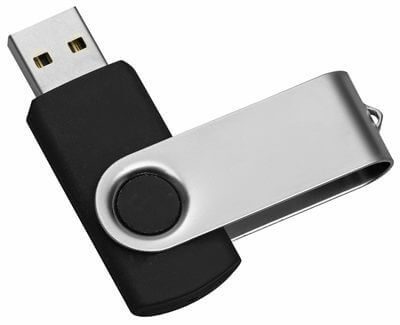
Step 1. Move the iTunes movies to USB drive from your computer.
Step 2. Set up your projector and outdoor screen. Connect your USB drive with the projector.
Step 3. Use the projector's menu to navigate to the USB drive, then select and play the movie on iTunes.
YouTube Video: How to Play iTunes Movies on Projector
Part 3. Other Ways to Stream iTunes Movies on Projector
Option 1. Using Apple TV with Your Projector
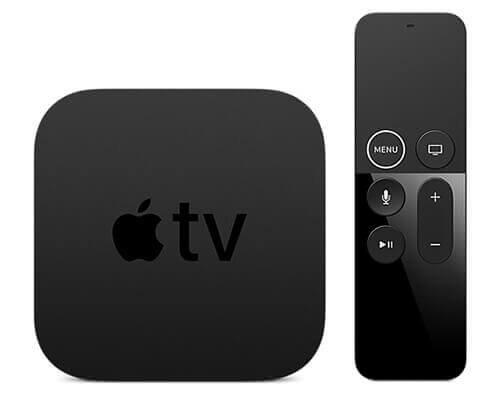
One of the easiest ways to watch iTunes movies on a projector is by using an Apple TV, which natively supports iTunes and Apple TV apps. Here's how to do it:
Step 1. Connect your Apple TV to the projector using an HDMI cable.
Step 2. Switch the projector's input source to HDMI.
Step 3. Open the Apple TV app on your Apple TV device, sign in to your Apple ID, and go to your iTunes movie library.
Step 4. Select and play the movie. The projector will display the video just as it would on a TV.
Note:
Make sure the projector has audio output or connect an external speaker to the Apple TV for sound, as some projectors have limited audio capabilities.
Option 2. Using AirPlay to Stream from an iPhone, iPad, or Mac
AirPlay allows you to wirelessly mirror content from your iPhone, iPad, or Mac directly to compatible projectors.
Step 1. Connect your Apple device and projector to the same Wi-Fi network.
Step 2. On your device, start the movie in the Apple TV or iTunes app.
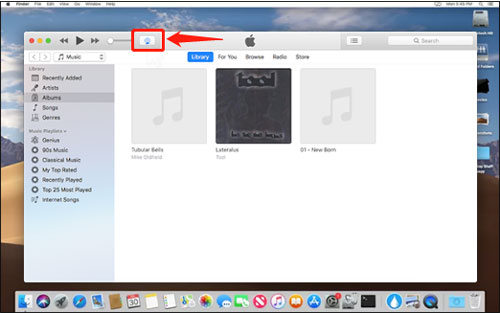
Step 3. Tap the AirPlay icon and select the projector as the output device.
Step 4. The iTunes movie should play on your projector screen.
Part 4. Troubleshooting of iTunes Movies Won't Play on Projector
Issue 1: No Sound from the Projector
If your projector displays iTunes video but has no sound, try these solutions:
- Check Audio Source: Ensure the projector's audio output is enabled, or use external speakers.
- Adjust Device Settings: Go to your computer or Apple TV's sound settings and select the correct audio output source.
- Use an HDMI Splitter: Some projectors lack built-in audio. An HDMI splitter with audio extraction can route audio to a separate speaker system.
Issue 2: Lag or Stuttering iTunes Video with AirPlay
If you experience lag or stuttering while using AirPlay:
- Check Wi-Fi Signal: Weak Wi-Fi can cause buffering. Move closer to the router or connect devices to a 5GHz network if possible.
- Lower Video Quality: Adjust the playback quality on your Apple device to reduce lag.
- Restart Devices: Sometimes a simple reboot of your Apple device or projector can resolve connectivity issues.
Issue 3: Black Screen on the Projector
If your projector only shows a black screen when trying to play iTunes movies:
- Check DRM Compatibility: Some projectors may not support DRM-protected content over HDMI or AirPlay.
- Use Apple TV or Converter: Consider using Apple TV or converting the video format as described above to avoid compatibility issues.
- Ensure Proper Connections: Verify the HDMI or Wi-Fi connection between devices and ensure that the correct input is selected on the projector.
Part 5. Sum Up
Watching iTunes movies on a projector can take your movie nights to the next level. With options like using Apple TV, AirPlay, or converting iTunes movies via DRmare M4V Converter, you can find a setup that suits your preferences and devices. And if you run into issues, such as iTunes movies won't play on Projector, this troubleshooting guide will help you get back to enjoying your films on the big screen.

 Home
Home




User Comments
Leave a Comment